
Greetings.
I am a man in a suit who has fallen into the world of Minecraft.
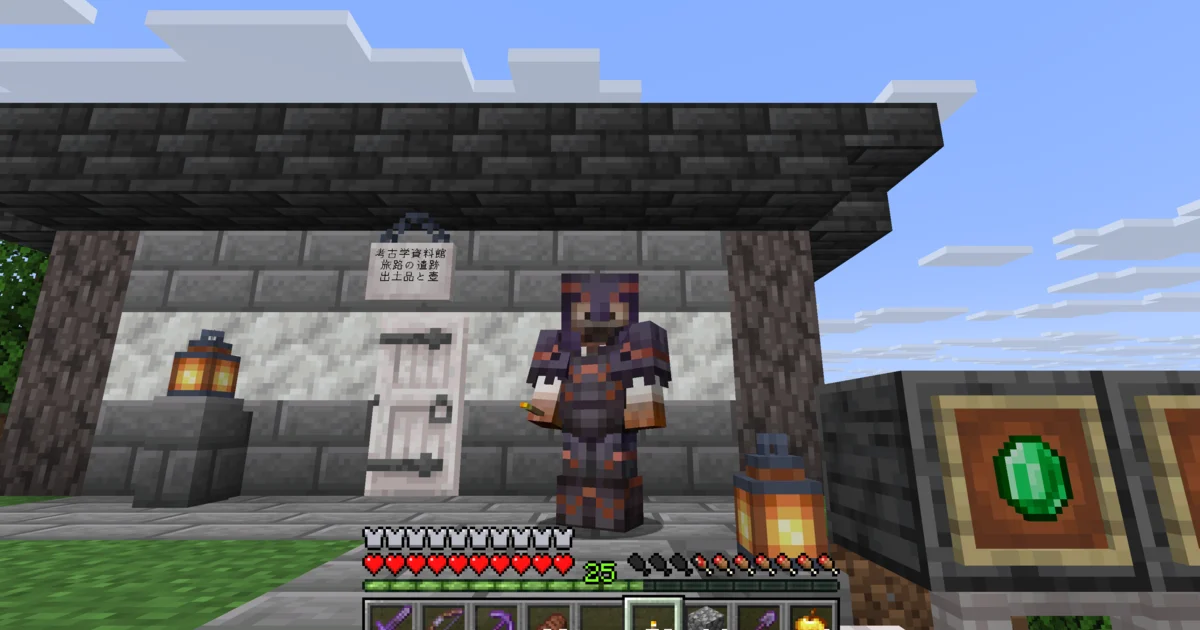
The display wall holds a brush, a Raiser Smithing Template, a Shaper Smithing Template, and the Relic music disc.
This time, I will use the Raiser Smithing Template to make a commemorative set of netherite armor for Episode 50.
Keeping the original template and using copies
I began by returning to the museum and looking over the display once more.
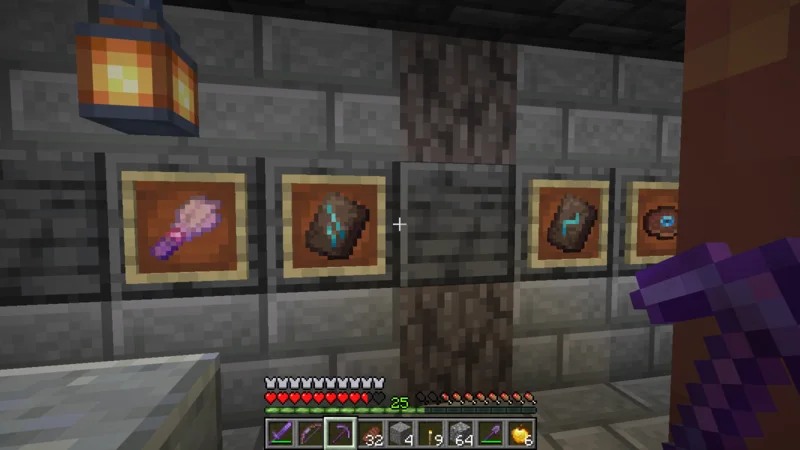
The Raiser Smithing Template in the center is the one I will use today. The Shaper template beside it will remain on display; I did not try that pattern this time.
I also kept the original Raiser template in the museum and prepared four copies—one each for the helmet, chestplate, leggings, and boots.
Here is the netherite armor before adding any trim.

Its dark color already gives it a dependable appearance.
The official Minecraft: Java Edition 1.20 release notes explain that armor trims are visual customization and provide no gameplay benefits. The smithing template determines the pattern, while the material determines its color.
Now, which color should I choose?
Previewing copper, diamond, and lapis lazuli
At the smithing table, I inserted the Raiser template, a piece of netherite armor, and a trim material. The preview on the right let me compare the finished appearance before taking the result.
First was copper.
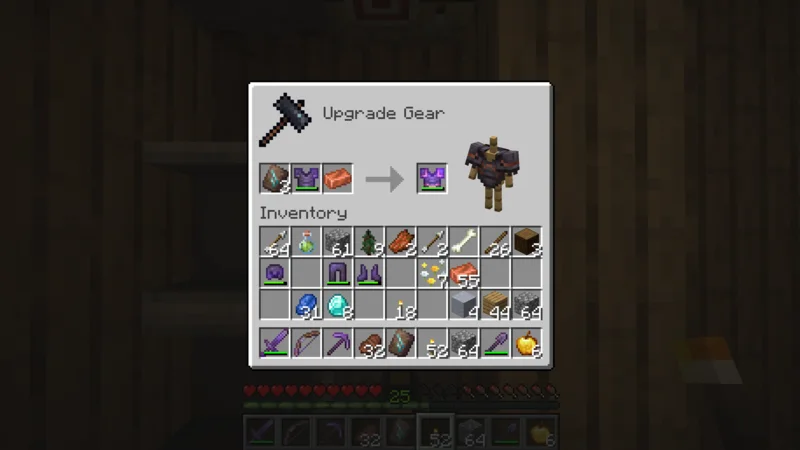
The warm reddish color stood out clearly against the dark netherite.
Next was diamond.
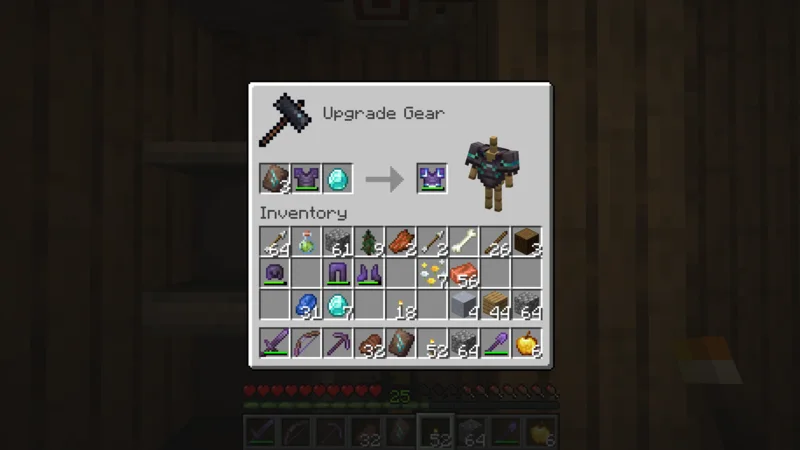
This bright blue was easy to see even from a distance.
Finally, I tried lapis lazuli.
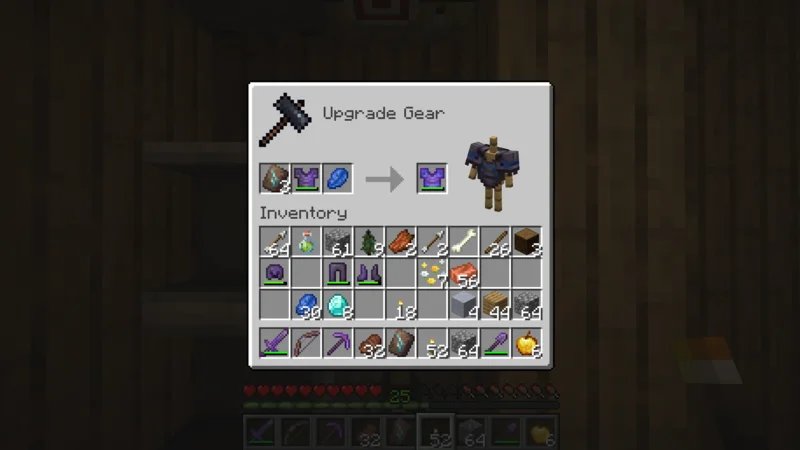
It was a calm blue, although it blended into the dark armor a little more.
After comparing the three, I chose copper. Its color connects nicely with the copper golem in the castle town and gives the museum’s commemorative armor a warm look.
It was also helpful that I could compare these previews without consuming the template or material until I actually took the finished item.
Adding copper Raiser trim to the full set
With the color decided, I trimmed the helmet, chestplate, leggings, and boots in that order.
The four pieces used four copied Raiser Smithing Templates and four copper ingots.
And here is the completed set!
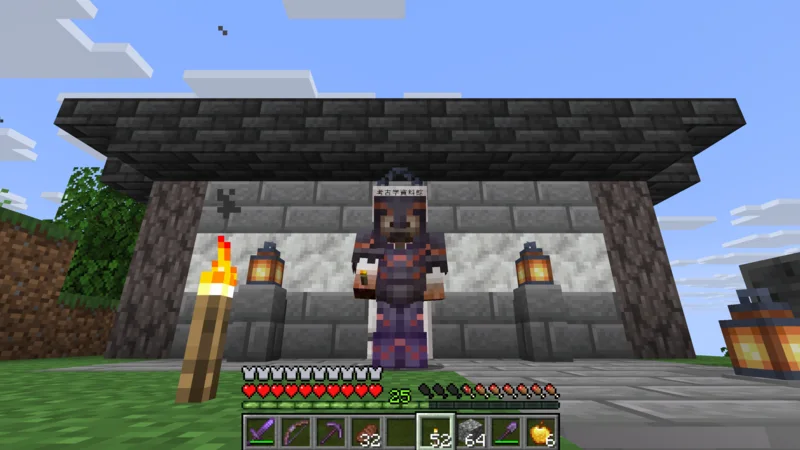
Comparing it in the same place makes the change easy to see. Copper bands now outline the dark armor, making the whole set look much more colorful.
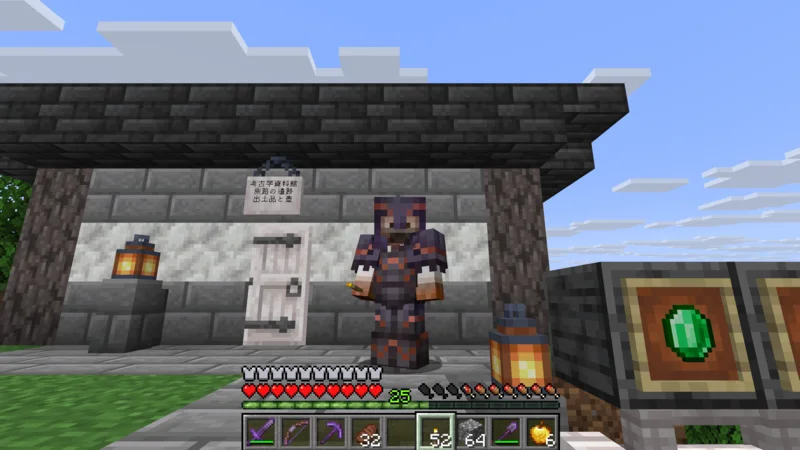
When I checked the finished gear, its original enchantments and durability were still intact. I am glad I can change its appearance while continuing to wear the armor that has accompanied me this far.
The Raiser pattern also appears clearly on the back.
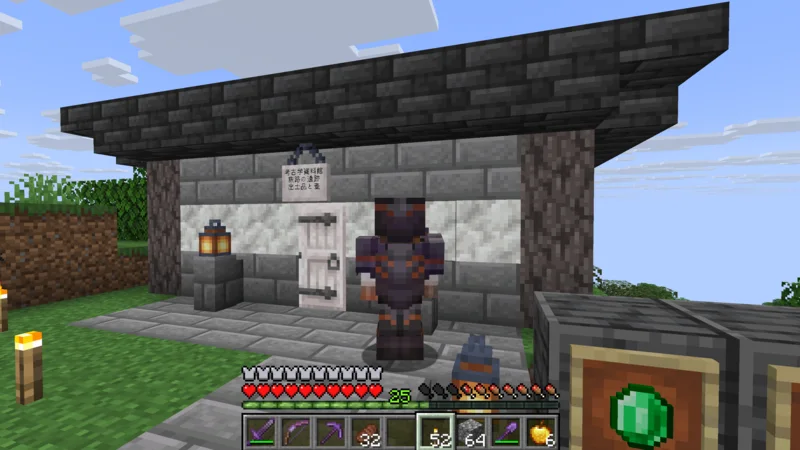
The copper color is visible not only from the front, but also whenever I turn around.
Displaying the armor, then putting it back on
Since this is Episode 50, I placed the completed armor on an armor stand inside the museum for a commemorative display.
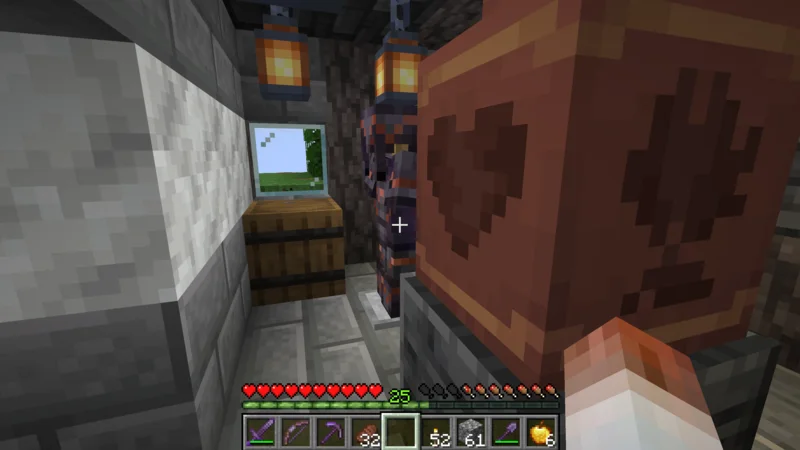
The smithing template found at the Trail Ruins had become a fine commemorative armor set.
A decorated pot, brush, smithing templates, music disc, and armor stand now share the room.
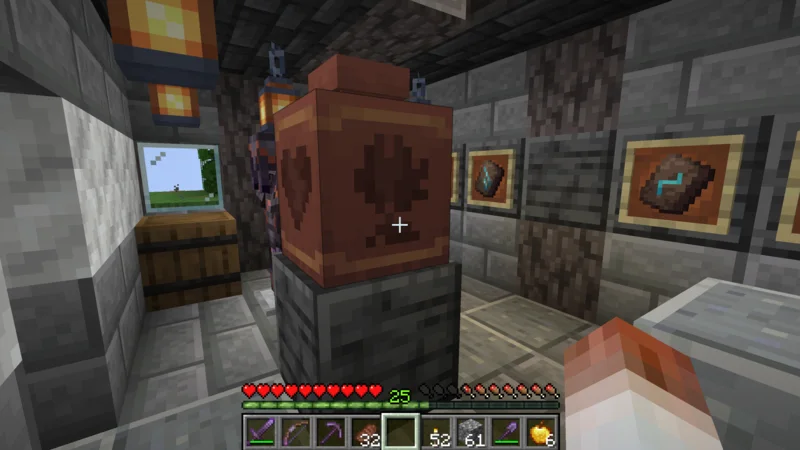
The archaeology story that began in Episode 48 has gathered in one place.
Still, after looking at it for a while, I felt this armor was too useful to leave on display. After showing it once for the occasion, I removed it from the armor stand and put it back on.
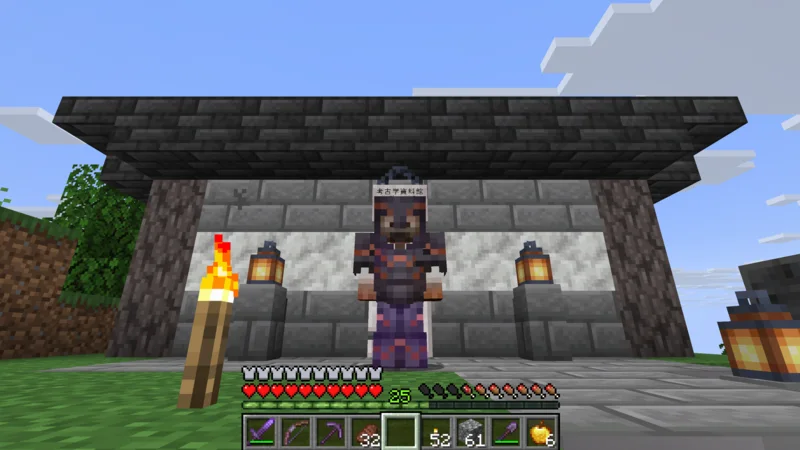
The original template remains in the museum, while the copper Raiser trim will travel with me on the adventures ahead.
The story that began with excavation has led to the look of Episode 50.
That is all for this time.
Greetings.