
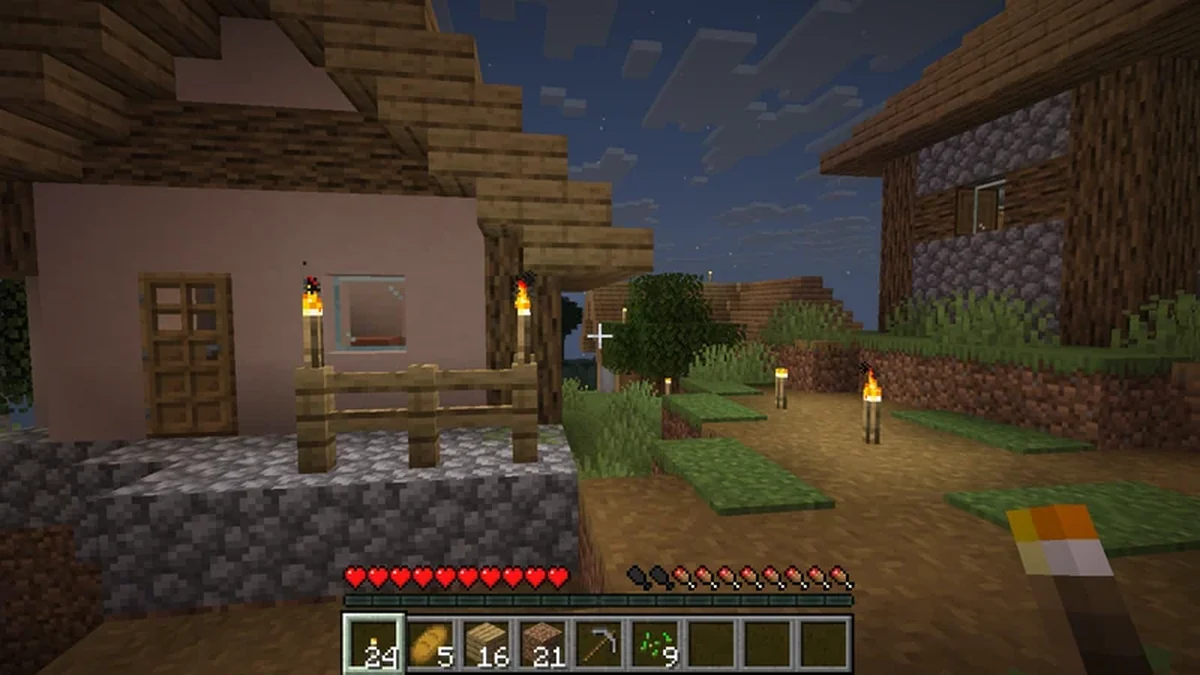
Greetings.
I am a man who has fallen into the world of Minecraft.
In OjiCra Season 3, I found a village.
It had homes, farms, a bell, and Villagers.
At first, that was enough to make me feel as though I already had a place to live.
…I was mistaken.
Finding a Minecraft village did not mean that I knew how to protect it.
Zombies came at night.
There were dark places.
There were shadows behind homes, beside paths, and around places that seemed to lead underground.
By the time I looked around the village again, even the number of Villagers I could confirm had fallen considerably.
I felt terrible about that.
This memo records the Torches and village lighting I actually worked on from OjiCra Season 3 Episode 12 through Episode 14 as I tried to protect the Villagers.
It is not a complete set of instructions.
It is the record of a beginner who failed, reflected on what happened, and started by making the village brighter.
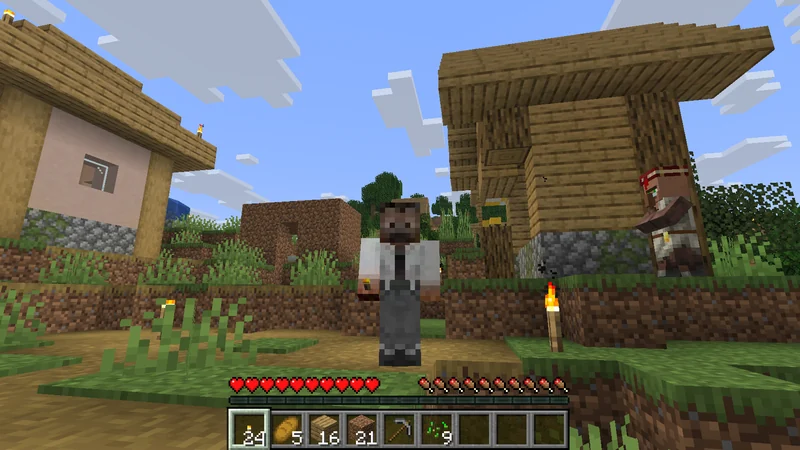
Here I am in front of the village.
Today, I am less of an adventurer and more of a village watchman.
The work is not dramatic.
But it is probably important.
To Protect the Villagers, I First Wanted to Reduce the Dark Places
Saying that I wanted to protect the Villagers sounds rather grand.
But the first things I did were very simple.
Reduce the dark places.
Light the front of the homes.
Place Torches along the paths the Villagers were likely to use.
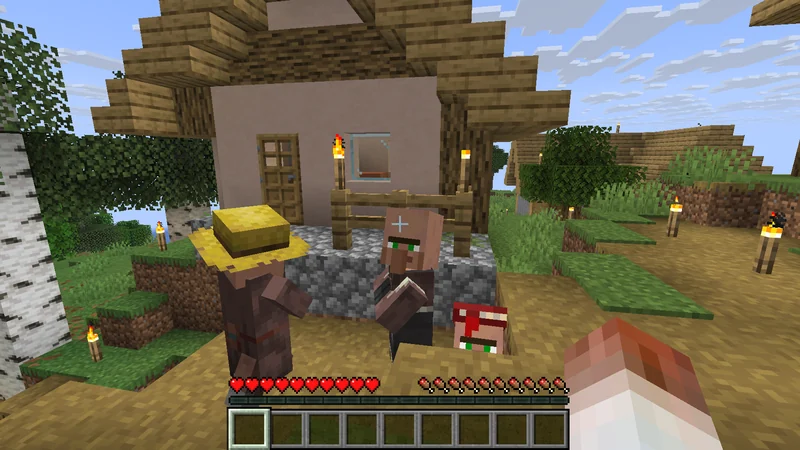
These were the Villagers still here.
Seeing their faces was a relief.
At the same time, it made me feel that I needed to protect them properly.
In Minecraft, hostile mobs can spawn in dark places.
Minecraft’s official Caves & Cliffs Part II article also explains the relationship between darkness and the spawning conditions for hostile mobs.
The details can vary with the version and the location, but to a beginner like me, a dark village was frightening enough.
So I began with Torches.
By placing them, I tried to create more places in the village that felt at least a little safer.
I Started Placing Torches Around the Village Homes
Lighting the entire village perfectly at once would have been difficult.
I am only a beginner, after all.
So I started around the Villagers’ homes.
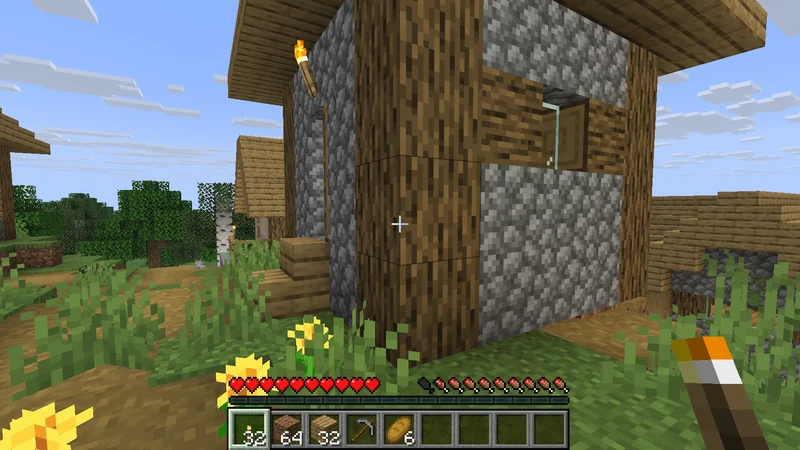
I stood beside a home with a Torch in my right hand.
Even this small light changed how the place felt.
A Torch is one of the most basic light sources in Minecraft.
The Torch page on Minecraft Wiki describes an ordinary Torch as a light source with a light level of 14.
In other words, it brightens the area around it.
Very helpful.
Extremely helpful.
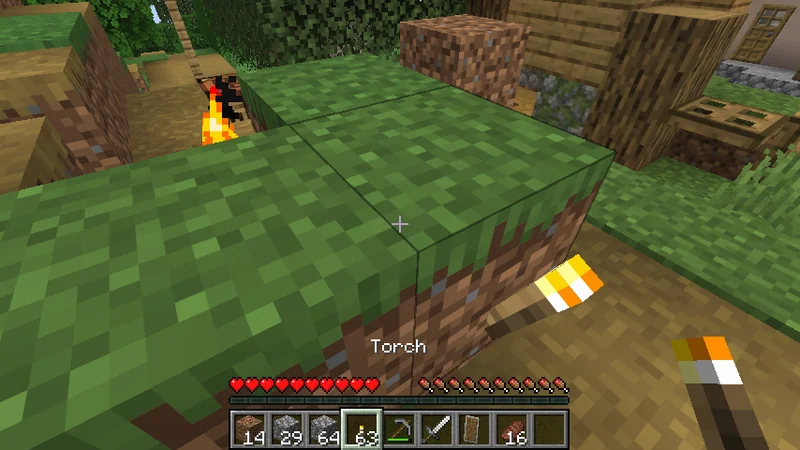
In front of homes.
Beside the paths.
Near changes in ground level.
I placed Torches wherever I thought, "This will be frightening at night."
This is often called spawn-proofing.
To me, however, it felt less like a technical strategy and more like adding streetlights to the village.
There was light along the path at night.
That alone made the village begin to feel like a place to live again.
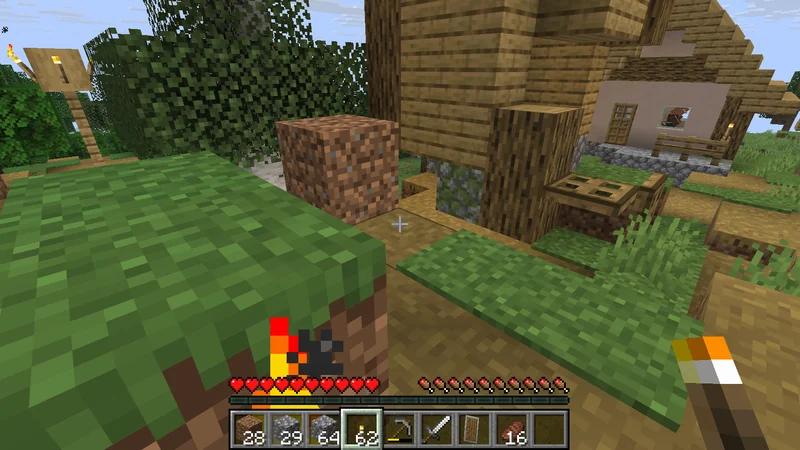
There it was.
It was very modest work.
But perhaps this kind of modest work is what protects a village.
Lighting the area beforehand seemed better than panicking after a Zombie attack.
I had learned at least a little.
Torchlight Changed How the Village Looked at Night
After placing the Torches, I looked at the village at night.
This part was important.
There were things I could not understand in daylight until night arrived.
Which places were dark?
Which places were frightening?
Could I see the path back to a home?
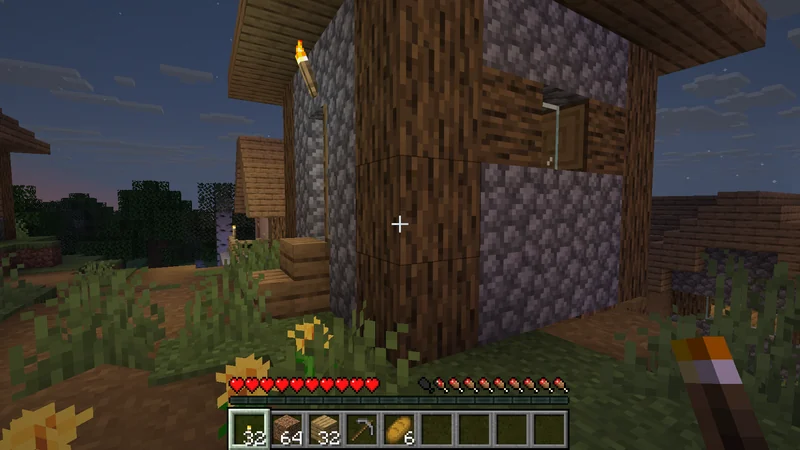
Oh…
There was light in the night village.
This was it.
This was what I had wanted to see.
Of course, this did not make the entire village completely safe.
There were underground spaces.
There were dark slopes.
The areas behind the homes still concerned me.
Even so, there was light in front of the homes.
There was light along the village paths.
That alone changed the way the village looked at night.
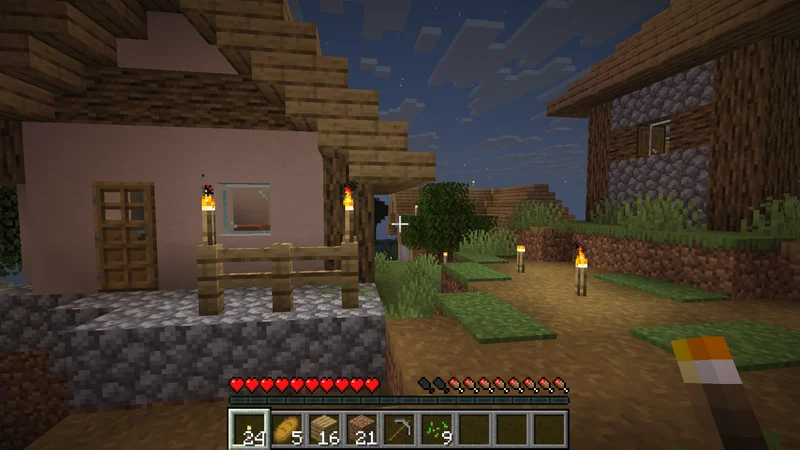
This was another view of the village at night.
Before, darkness had made the village suddenly seem frightening.
I did not know what might approach or from which direction.
Walking along a dark path was frightening.
Even the entrance to a home felt far away.
But when the Torch lights continued along the route, I felt a little calmer.
Light is remarkable.
I Wanted to Think About Zombies Starting Near the Villagers
Zombies were the most frightening threat when I thought about protecting the Villagers.
The Villager page on Minecraft Wiki explains that Zombies, Husks, Drowned, and other mobs may attack Villagers.
That made the places where Villagers walked, the entrances to their homes, and the areas around their beds particularly important to check.
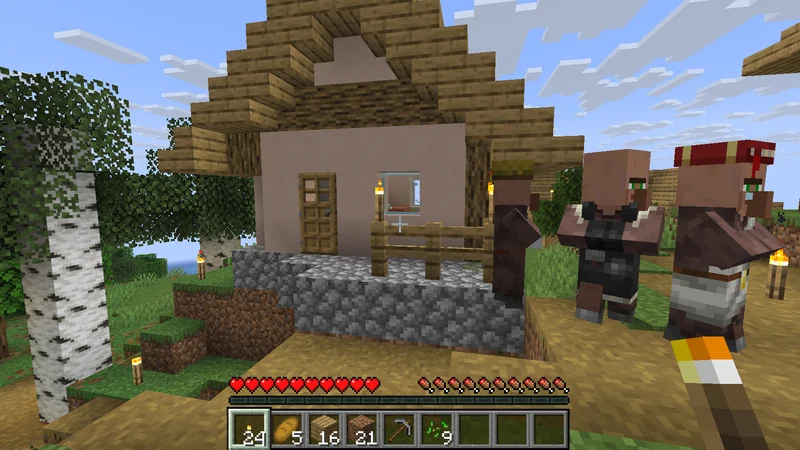
There was Torchlight near the Villager.
Good.
It was bright.
Brightness alone felt reassuring.
In OjiCra, I had already failed to keep all the Villagers safe.
That was why I started by lighting the places where the remaining Villagers lived.
Before trying to solve every problem in a distant cave, I wanted to protect the front of their homes.
That was a goal even I could understand.
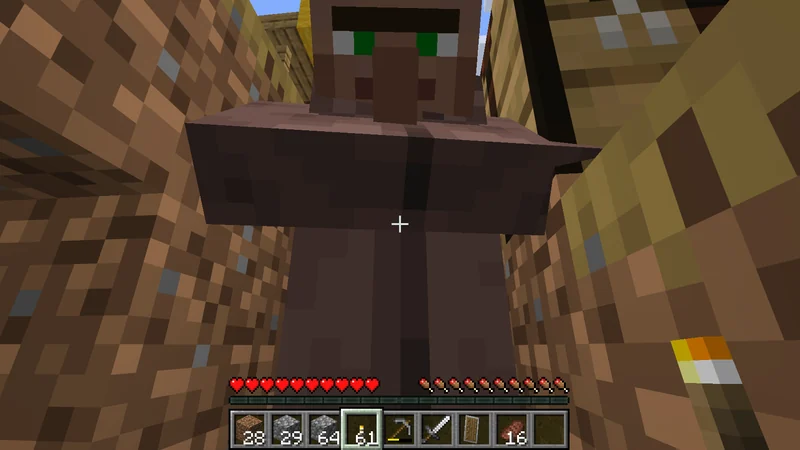
A Villager.
Very close.
A rather powerful presence.
But seeing this face made me want to protect the village.
The phrase "protect the Villagers" may sound like a guide, but my actual feeling was much simpler.
I was glad they were still here.
I wanted them to be here after the next night too.
So I placed Torches.
The Village Was Not Completely Safe, and Dark Places Remained Underground
Even after placing all these Torches, the problem was not solved completely.
There seemed to be dark spaces beneath the village.
There were shadows below changes in ground level.
There were places behind the homes.
There were areas beyond the farms.
Many places still concerned me.
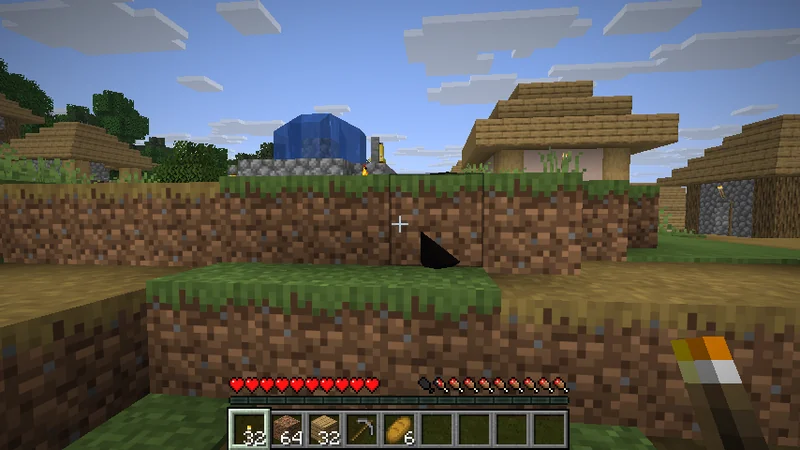
Morning arrived, and the Villager was still here.
That was a real relief.
But morning did not mean the work was finished.
Night would return.
Dark places still remained.
Next time, I wanted to look beyond the surface and check holes or dark spaces that seemed to lead underground.
I was finally beginning to understand that protecting a village was something I needed to keep doing.
My Village Protection Checklist
These are the things I want to remember when trying to protect the Villagers:
- Light the paths the Villagers use and the fronts of their homes
- Look for dark places near beds and entrances
- Check the edge of the village, the areas around farms, and the ground below ledges
- Place Torches at intervals along paths used at night
- Watch the directions from which Zombies might approach
- Do not postpone checking underground holes and dark spaces for too long
- Do not assume the village is now perfect
The last point is important.
Whenever I declare something perfect, something usually happens next.
So for now, I will think of the village as being a little safer than before.
Then I can keep adding one small improvement after another.
Perhaps that is what village life is like.
Read the Episodes in Which I Lit the Village
This memo is based on the village protection episodes from OjiCra Season 3.
First, Episode 12, when I placed Torches around the village homes:
Lighting Village Homes with Torches|OjiCra Season 3 #12
Next, Episode 13, when I lit the village at night after reflecting on the Villagers I had lost:
I Do Not Want to Lose More Villagers|OjiCra Season 3 #13
Then Episode 14, when I added more light to the surface of the village:
Lighting the Night Village to Protect the Villagers|OjiCra Season 3 #14
I also referred to Minecraft’s official Caves & Cliffs Part II article and the Minecraft Wiki pages about Torches and Villagers.
When I first found the village, I was simply happy.
But if I wanted to live there, I also needed to protect it.
Place Torches.
Check how the village looks at night.
Make sure the Villagers are safe.
Each task was modest, but each one mattered if I wanted to care for the village.
That is all for this time.
Farewell.