
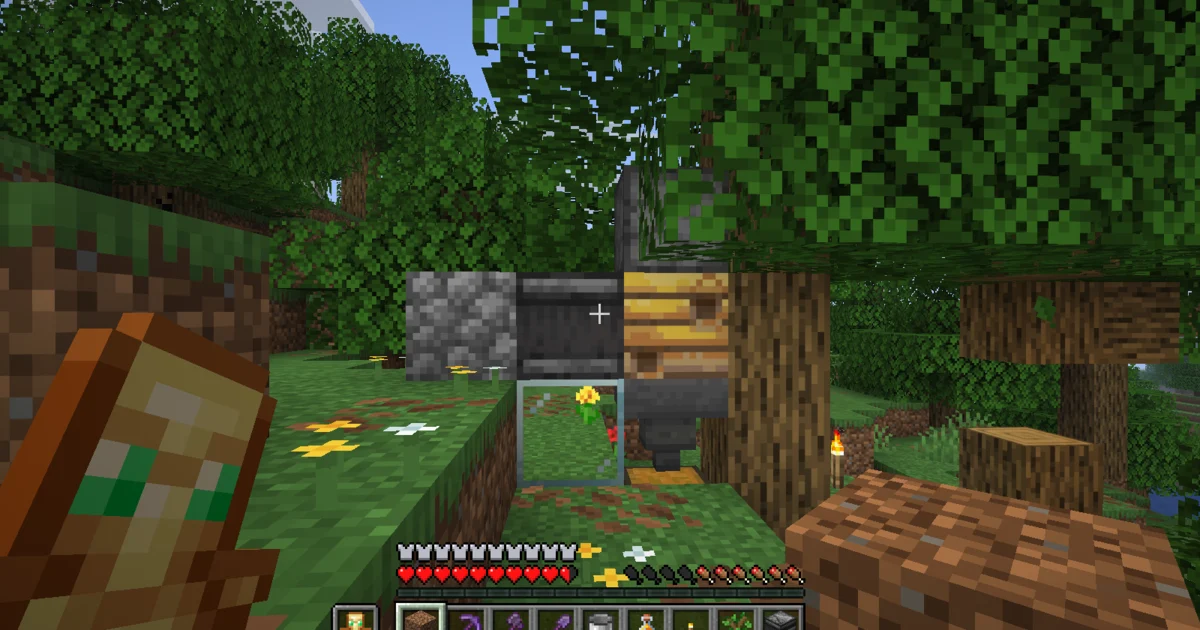
Greetings.
I am a man in a suit who has fallen into the world of Minecraft.
In Java Edition, an observer can detect changes in a bee nest and send a signal to a downward-facing dispenser loaded with shears.
In our Java Edition 1.21.11 test, a hopper and chest below a natural nest automatically collected three honeycombs from the first measured cycle.
The automated parts are detecting changes in the nest, shearing it when full, and moving the drops into the chest.
Replacing the shears and preparing the nest and bees remain manual tasks. We did not test automatic honey-bottle collection.
| What you need to know | Our result |
|---|---|
| Tested edition | Java Edition 1.21.11 |
| Detection | Observer |
| Harvesting | Shears in a downward-facing dispenser |
| Collection | Hopper below the nest into a chest |
| First measured result | Three honeycombs in an empty chest |
| Not tested | Automatic bottle collection, fixed timing, hourly output, or identical Bedrock behavior |
Materials for an automatic honeycomb farm
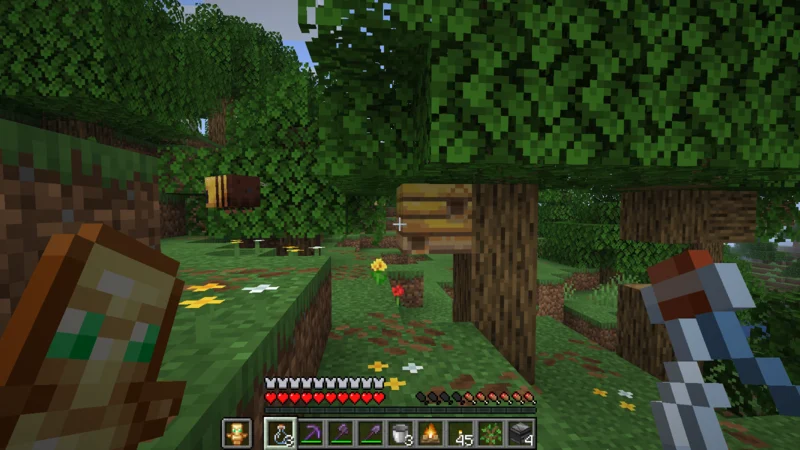
This is the natural bee nest used for our build.
When starting with a different nest, keep its entrance clear and leave nearby space for flowers.
Minecraft’s official bee article explains that bees visit flowers during clear daytime weather and carry pollen back to their nest.
For a build that keeps a natural nest in place, checking the entrance and surrounding space is a reassuring first step.
The core parts are one nest or beehive, observer, dispenser, pair of shears, hopper, and chest.
We also use two redstone dust and one solid block to carry the observer signal.
| Material | Quantity | Purpose |
|---|---|---|
| Natural bee nest or beehive | 1 | Holds honey |
| Observer | 1 | Detects nest state changes |
| Dispenser | 1 | Uses the shears |
| Shears | 1 | Harvests honeycomb from a full nest |
| Hopper | 1 | Catches dropped honeycomb |
| Chest | 1 | Stores the result |
| Redstone dust | 2 | Carries the signal |
| Solid block such as cobblestone | 1 | Receives the observer output |
| Inspection glass | 1 | Optional; makes the inside easier to see |
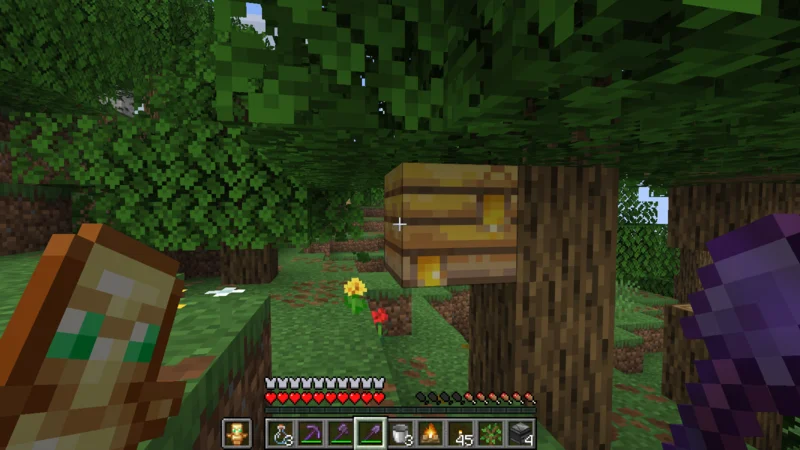
Honey dripping from the surface marks the honey level 5 state observed here.
Minecraft’s official introduction notes describe a maximum honey level of 5 and harvesting honeycomb from a full nest with shears.
Observer and dispenser placement
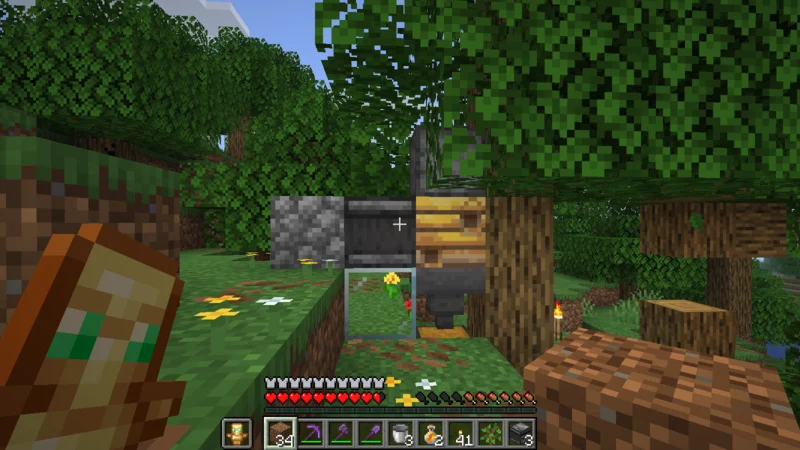
This is the placement that worked in our Java Edition 1.21.11 test.
Place a solid block at the observer’s output and connect two redstone dust across the top to the downward-facing dispenser.
The observer’s face points toward the nest, while its red output side points toward the solid block.
The dispenser must face downward toward the nest, with the hopper directly below the nest and the chest connected beneath it.
| Layer | Relative placement |
|---|---|
| Top | Redstone dust → redstone dust → downward-facing dispenser with shears |
| Middle | Solid block → observer → bee nest |
| Lower | Optional inspection glass → hopper |
| Bottom | Chest |
After placing everything, check that the dispenser mouth faces down and that the hopper points into the chest.
The official introduction notes explain that a dispenser can harvest a full nest, while this exact wiring and collection path are results from our Java Edition 1.21.11 test rather than an official complete design.
Collecting three honeycombs from an empty chest
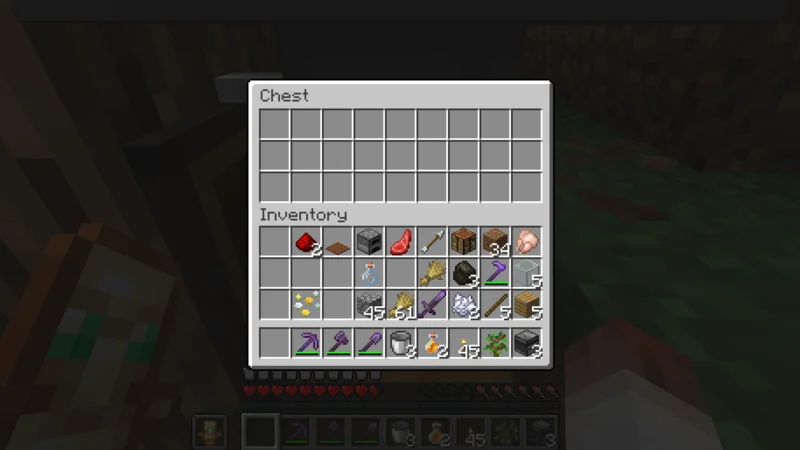
This chest is empty immediately before the first measured cycle.
Starting empty keeps the result from being mixed with earlier items.
We also start after the nest has been emptied and wait for the next full state.
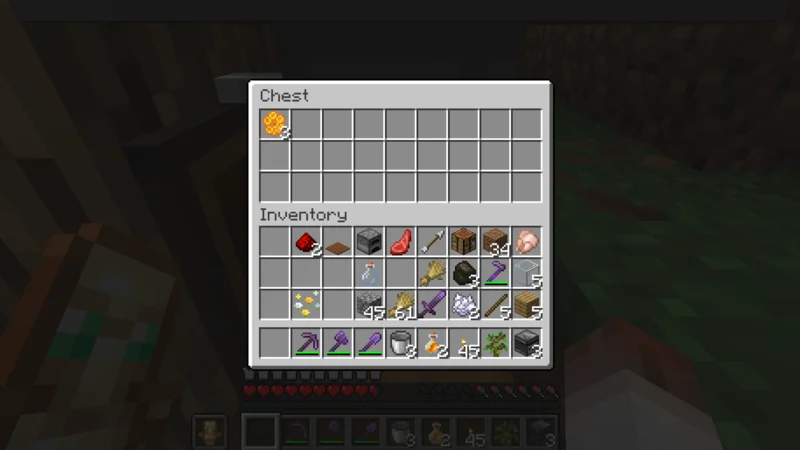
After that same cycle, the previously empty chest contains three honeycombs.
The shears lose one durability point, confirming that nest-state detection, harvesting when full, and hopper transport connect successfully.
This is the result of our first measured cycle.
We did not measure a fixed fill time or hourly output, and it does not mean twelve honeycombs came from one cycle or that the farm runs forever without maintenance.
What to check when the farm does not work
If a full nest does not trigger the mechanism, check its direction and connections before rebuilding it.
1. Was the observer circuit completed while the nest was already full? The next state change may be needed.
2. Does the observer face the nest, with its output toward the wiring?
3. Does the dispenser face downward, and does it contain shears with durability remaining?
4. Is the hopper below the nest connected to the chest?
5. Is the nest entrance unobstructed?
6. Do night, rain, or a lack of flowers appear to be limiting bee activity?
During our check, the shears do not lose durability while the observed honey level moves through 1, 3, and 4. They activate at level 5.
If wiring was finished after the nest became full, harvest it appropriately once and observe the next cycle from an empty state.
Keep honeycomb and honey-bottle collection separate
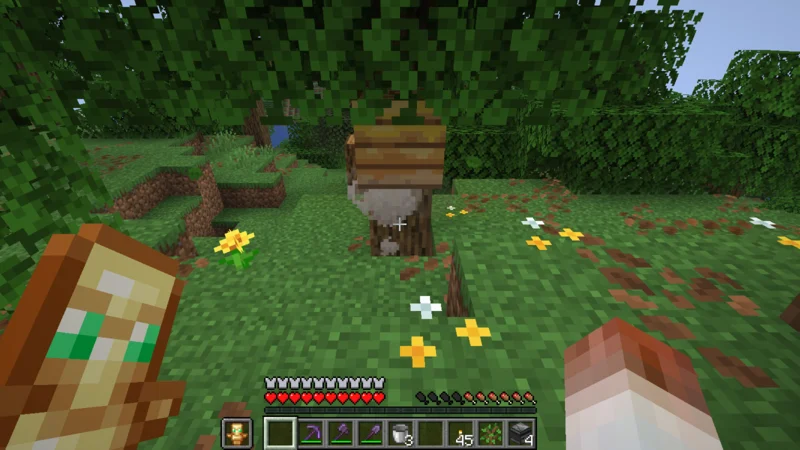
This image shows campfire smoke passing up to the nest.
Minecraft’s official bee article also introduces a campfire beneath a nest as a way to keep bees calm while harvesting manually.
Our automated result covers honeycomb collected with shears.
We collect honey bottles manually from the side of the nest while smoke passes through it.
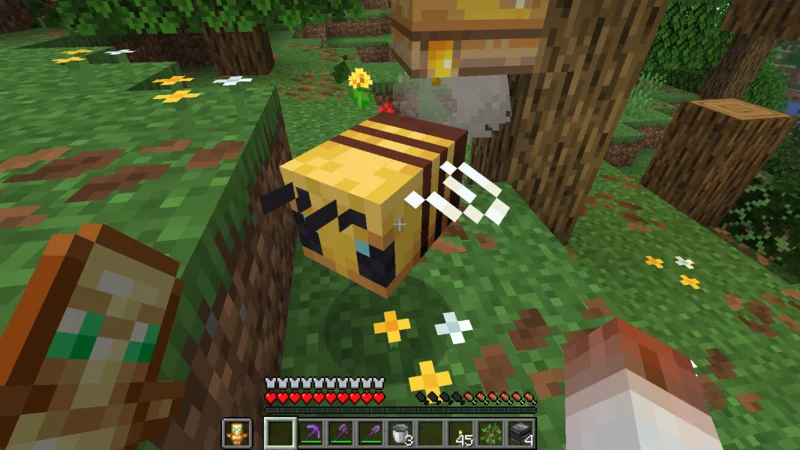
Here, carpet covers the campfire while allowing smoke to reach the nest, helping keep bees away from the fire.
We then use glass bottles manually from the side of the nest.
We did not test a bottle-filled dispenser or another design that transports bottles into a hopper.
The honeycomb result should not be generalized to automatic honey-bottle collection.
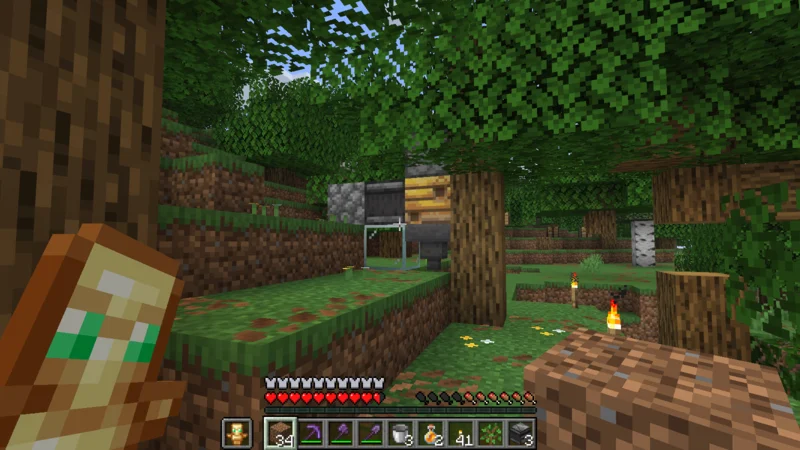
This is the completed apiary built around the natural nest.
Leaving the entrance clear and adding inspection glass makes the bees and mechanism easier to watch.
The story of building this machine in the forest and collecting its first three honeycombs appears in OjiCra Season 3 Episode 60.
Frequently asked questions
- QWhen is honeycomb collected automatically?
- AIn our Java Edition 1.21.11 test, the observer signal activates the dispenser when the nest reaches honey level 5.
- QHow many honeycombs did one cycle collect?
- AThe first measured cycle placed three honeycombs into an empty chest. This is our observed result.
- QWhere do the shears go?
- APut them inside the downward-facing dispenser aimed at the nest. Check their remaining durability because they wear down.
- QWhy does the farm not activate when the nest is full?
- AIf the circuit was completed after the nest became full, the observer may be waiting for the next state change. Also check direction, wiring, shears, and the hopper connection.
- QCan this farm collect honey bottles automatically?
- AWe did not test that. Our verified result covers only automatic honeycomb collection with shears.
- QIs a campfire required?
- AMinecraft’s official guidance describes smoke for keeping bees calm during manual harvesting. We do not leave a campfire permanently installed in the completed automatic collector.
- QDoes the same design work in Bedrock Edition?
- AWe tested only Java Edition 1.21.11, so we do not claim identical behavior in Bedrock Edition.
This automatic honeycomb farm combines an observer, downward-facing dispenser with shears, hopper, and chest around a natural nest.
In Java Edition 1.21.11, we verified the change from an empty chest to three honeycombs and one point of shears durability used.
Start after emptying the nest, wait for the next full state, and check the directions and connections against the real screenshots.
Remember to inspect the shears from time to time.
That is all for this time.
Farewell.